





Motion Detector Plus

Motion Detector Plus ਦਾ ਵੇਰਵਾ
Motion Detector Plus automatically shoot photos when motion on camera is triggered.
Quick tutorial:
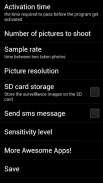
-Go to settings menu (gear wheel icon on main screen) and adjust all settings as you like.
*tip: use lower sensitivity level in low light areas!
-Place device on desired place and don't move it
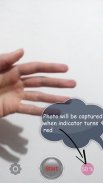
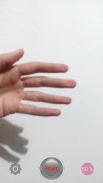
-Press start / stop button (it is placed low middle area of the screen)
-Percentage bar will show how much image is changed in percentage (when motion is triggered)
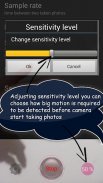
-When percentage bar comes to value that you have set in settings menu (in sensitivity level option) it will turn red and camera will start shooting images (also alert will pop up with message "motion has been detected")
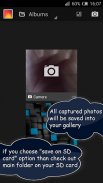
-All captured images will be saved into your gallery - in same place where images are saved when you shoot photos with normal camera application (in case you didn't check the "save to SD card" option)
And that's it!!! As you can see everything is very simple!!!
All taken media will be saved in to your gallery or on your SD card.
You can now open images using any image viewer app.
This app can be great way to provide safety, security and protection for your home or workplace.
Motion Detector Plus also enables you to use some of these options:
- Activation time (the time required to pass before the program get activated)
- Sample rate (time between two taken photos)
- Number of pictures to shoot (number of pictures that can be captured when motion is detected)
- Picture resolution
- Send sms message (when motion is detected)
- SD card / phone or tablet storage
-Instant foto capturing when motion is detected
- Sensitivity level (motion sensor)
*User could decide a motion detection sensitivity form 0 to 100
The sensitivity of the detection is varied by surrounding light conditions. So, recommend to test and choose the best option for the given areas. To test, try to change detection area positions and the size of the detector to get the best results.
Thank you for using Motion Detector Plus!
Enjoy!


